|
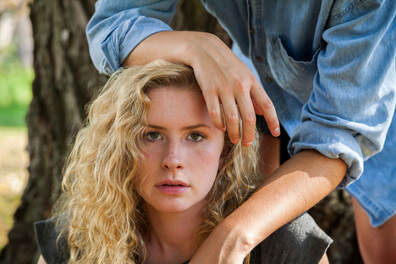
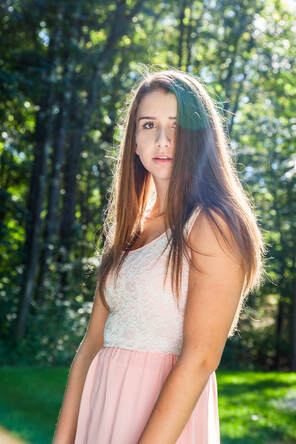
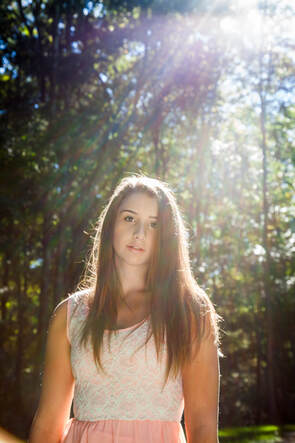
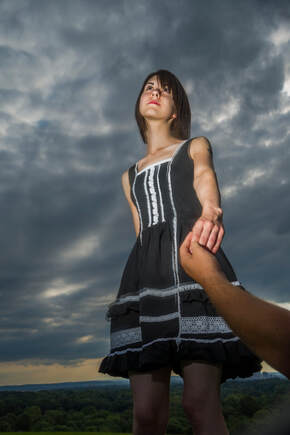
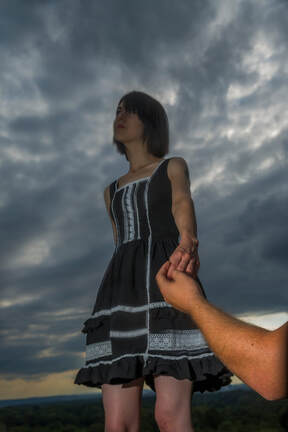
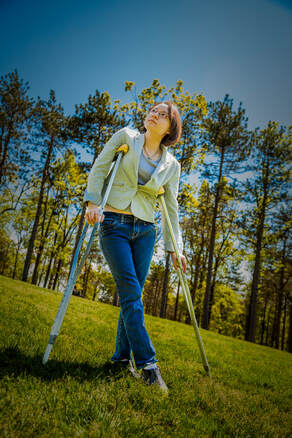
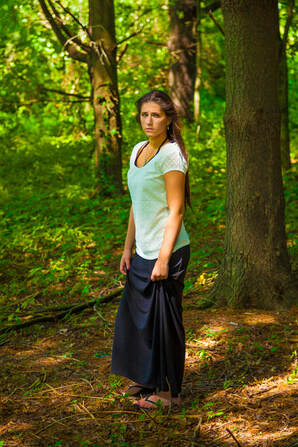
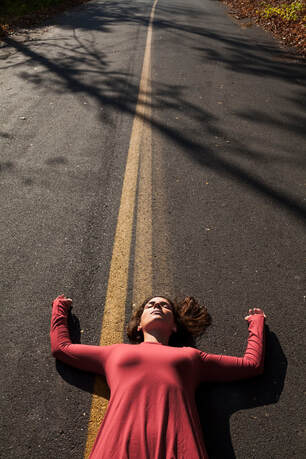
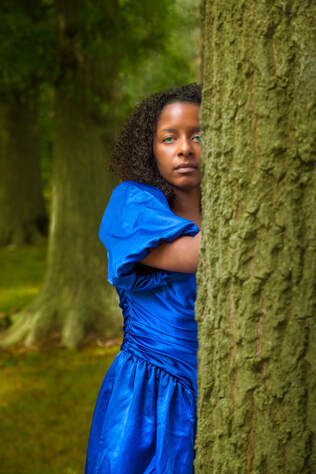
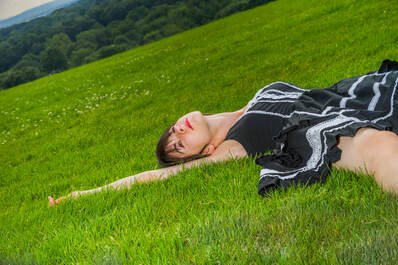
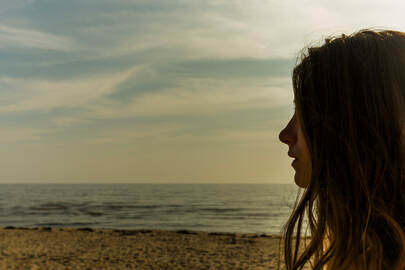
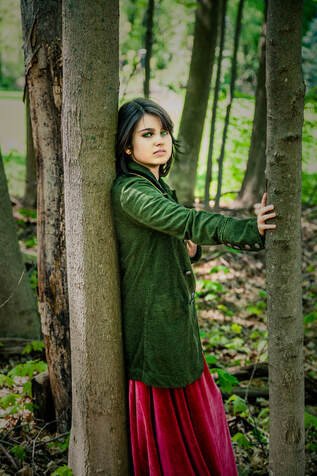
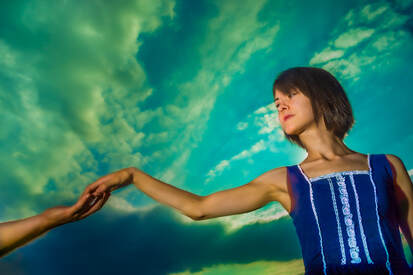
(Click on photos to enlarge) Taking pictures outdoors may be a delight or a nightmare! Assuming I’ve found a suitable location, the success of the shoot depends on lighting, wind, rain, and temperature. Bad lighting, too much wind, continuous rain, and high or low temperatures can all be disastrous. Let me begin with a discussion of lighting (wind, rain, and temperature will be addressed later). LIGHTING - A too dark day frequently translates into slow shutter speeds (even with the camera lens set to its widest aperture) - sometimes too slow to capture even a motionless model. A higher ISO setting could be used, but for most of my clients, the added picture noise and image degradation are not acceptable. I carry a medium size circular reflector with me on outdoor shoots. It’s matte white on one side (producing soft, diffuse illumination) and shiny silver on the other (producing hard, defined illumination). It pops open for use and easily folds for storage. The great thing about it is its hand grip. I can grasp it and position the reflector with my left hand while holding and firing the camera with my right hand. A note of warning when using it, however. If the shiny silver side is to be pointed at the model, give her a heads-up first. The silver intensifies the reflected light (especially sunlight) to the point that the model may find it blinding and painful. If I want to use the shiny silver side for a shot, I’ll briefly aim it at her as a test, asking if she finds it too intense. If she does, I’ll suggest she close both eyes as I set it up for the shot. Then, after telling her to open them on the count of three, I’ll wait a moment and take the picture. I wait that extra time so I’m not talking when pressing the shutter button, which may cause the camera to shake, resulting in a blurry image. If the brightness from the reflector is too much for her, I’ll do one of the following: have her look slightly away from the reflector, have her put on sunglasses, or use the reflector’s less extreme matte side. Jenna is being backlit by a strong sun (some sun rays hit the lens, causing the effect visible on her hair). I’m using the portable circular reflector described above. Here’s Jenna again. This setup was almost identical to the previous shot except for allowing rays of sunlight to enter the camera. Most of the time I’ll use a lens shade or a portion of my hand to block them. This time I wanted to see how the extraneous light would affect the shot. It’s interesting how some people view this type of effect as a sloppy mistake while others find it to be artistic. In this case, the more I look at the image, the more sloppy it appears to be! I also carry a small portable flash unit that can be hand-held or attached to the camera’s hot shoe. However, because it’s so small, it can create dark, defined, ugly shadows on the subject (which actually might be what you want, depending on your intent). So if a flash unit is needed, I’ll regularly attach a small softbox to it or bounce the flash’s output off a white reflector. That enlarges the size of the illumination, diffusing the light and producing lighter, less defined, and more pleasing shadows. FREE T-SHIRT ...when you sign up for a One-To-One Workshop!! This is a Fruit-Of-The-Loom, 98% cotton shirt. It has my absolutely gorgeous logo (see top of page) printed on the front. Available sizes are men's medium, large, and extra-large. These shirts may also be purchased. I shot this photo with a small portable flash being held in my left hand. There was nothing modifying its output. But even without bouncing the light off a reflector or using a softbox, the illumination isn’t bad, except for a too defined and too dark shadow appearing above her nose. On the other hand, the shadow’s not too noticeable. This is what happens when the flash is aimed incorrectly (unless that's the intended effect). If stronger lighting is needed, I’ll use a very simple portable setup I first assembled some years ago. It begins with a plastic trashcan - the kind with two back wheels, used by homeowners in many towns and cities. A normal light stand, with its legs extended, is placed inside of it. Attached to the stand is a studio monobloc, which is a combination strobe and power supply. A sandbag is placed on the stand’s horizontal section to increase stability. A softbox is secured to the front of the strobe. A portable battery pack for powering the strobe is positioned inside the trashcan as well. The whole unit can be set up quickly, is easily pulled or pushed (even on grass), and illuminates the subject as it would in a studio. Photographing outdoors under the sun often makes it difficult to avoid out-of-control highlights or reflections on the subject. These bright areas may appear on the forehead, nose, under the eyes, as well as in other areas. Exposing for them can render the rest of the photograph considerably darker - something that probably cannot be fixed in Photoshop. It’s important, therefore, that the shot be set up to minimize this problem. (The exception would be if the highlights are relatively small and not bothersome, or if they add interest to the picture). If unwanted highlights or reflections are going to be unavoidable, be sure they can be removed in post-production. These are the types of illumination usually found outdoors: - Direct sun with no clouds - Direct sun with light cloud coverage - Clouds with no sun visible - Shade Each type has its own advantages and disadvantages. But whichever sort of lighting it is, I will, if it won't negatively affect the picture too much, shoot without a strobe or reflector. As mentioned above, they’re both exceedingly useful tools. But dealing with them can confound the shooting process, especially when the lighting is constantly changing from one type to another. Using a strobe or reflector could involve lots of positioning, adjusting, repositioning, and readjusting of the model, strobe, and/or reflector. Using just the available light means I can spend more time setting up shots and taking pictures. I’ll do the best I can with the illumination present and, if needed, tweak the lighting later in Photoshop - hopefully solving the problems created by not using a strobe or reflector. It was a bright sunny day. The harsh sunlight is behind and slightly to Esther’s side. Actually, with the way Esther’s head is turned, the sun is almost directly behind it. This makes for wonderful highlights on her hair, top of her forehead, shoulders, and arm. Her front side, on the other hand, is gently illuminated by the softer skylight. We were working under a bright, mid-afternoon sun. Being beneath trees and branches meant attractive patches of light were surrounding Amelia. Because of our careful posing and positioning, one of those light patches fell on her face... nicely illuminating it (I lightened her shadowed eyes in Photoshop). I photographed Makenzie under a cloudless late-afternoon sun that created a low angle, high contrast side light. I loved the trees’ long shadows, so I left room in the shot for them. The wrinkles on her dress were pleasantly highlighted too. Being on her back, her face was illuminated with no shadows hiding her eyes. I suggested that she keep them closed because of the light's intensity. I was amazed how relaxed she was (or appeared to be) despite lying in the middle of a street. Kathleen was posed under an overcast sky. This resulted in even illumination throughout the image, including her face. The high reflectivity of her dress and its intense color really make it pop, despite the flat lighting. A model standing under an overcast or partially overcast sky usually means she’ll be evenly illuminated, but her eyes may sometimes end up somewhat dark (which luckily didn’t happen in the previous photo). Lying on one's back solves that problem, while still allowing for some striking poses. It was an overcast day at the beach. Joanna has a beautiful profile, and I liked the way her somewhat messy hair was hanging. I felt that underexposing the image would emphasize her profile while still allowing for a portion of her face to remain visible. I positioned her off to the side to add emphasis to the depressing gray sky and ocean. I wanted both the subject's face and the background to be slightly overexposed. Without her dark hair separating the two, I think her face would have unappealingly blended into the background. WIND - A good stiff wind has possibilities. Indoors, a leaf blower or a fan can create fascinating changes to a model’s long hair. An outdoor wind can do the same and, in addition, rearrange the model’s clothes, blur the greenery, and pick up and swirl dirt in every direction. These can add interest to the image or seriously muck it up. It’s tough to know what the outcome will be until it happens. RAIN - A few minutes of rain can have creative theatrical possibilities. There’s a lengthy history of using rain to further dramatic moments in photography, movies, and on the stage. I think even a glimpse of rain draws some emotion from most viewers. But it’s important to keep the model dry, unless the shot calls for her to get wet. In that case, a towel and dry clothes should be nearby. A soggy model is an unhappy model! TEMPERATURE - What can be said about the temperature? If it’s too hot, everybody sweats, and it sucks. If it’s too cold, everybody shivers, and it sucks. When searching for outdoor locations, my goal is finding places with multiple shooting areas nearby. For example, there’s a large, well-maintained city park I’ve used several times. In the park, and a short drive from one another, are a steeply angled white bridge, a hill with a view of the city, a sparsely furnished open wall hut, a children’s playground, an expansive and beautifully kept lawn, areas with densely packed trees, and multiple walking paths. I also photograph at colleges, universities, and downtown areas in various cities. This is what I consider to be a glorious sky and a wonderful background. However, there are times when the sky may not be so extraordinary. It can be overcast or the sun might be too much of a presence. Intense blue skies certainly aren’t bad. But there's something really special about a magnificent cloud pattern. One last thing…
I have a small suitcase-on-wheels that either the model or I will pull around with us during the photo shoot. It’s filled with her clothing, accessories, makeup, props, and a lighting reflector. The suitcase itself can be a great prop too. |
CategoriesArchives
July 2024
ALL BLOGS
Camera Settings Composition Depth-of-Field Finding The Shot Focus And Blur Image Editing Laziness Lighting The Subject Offbeat Ordinary Objects Reflections The Portrait While Shooting |
All Images © 2024 by Peter Glass. All Rights Reserved.
 RSS Feed